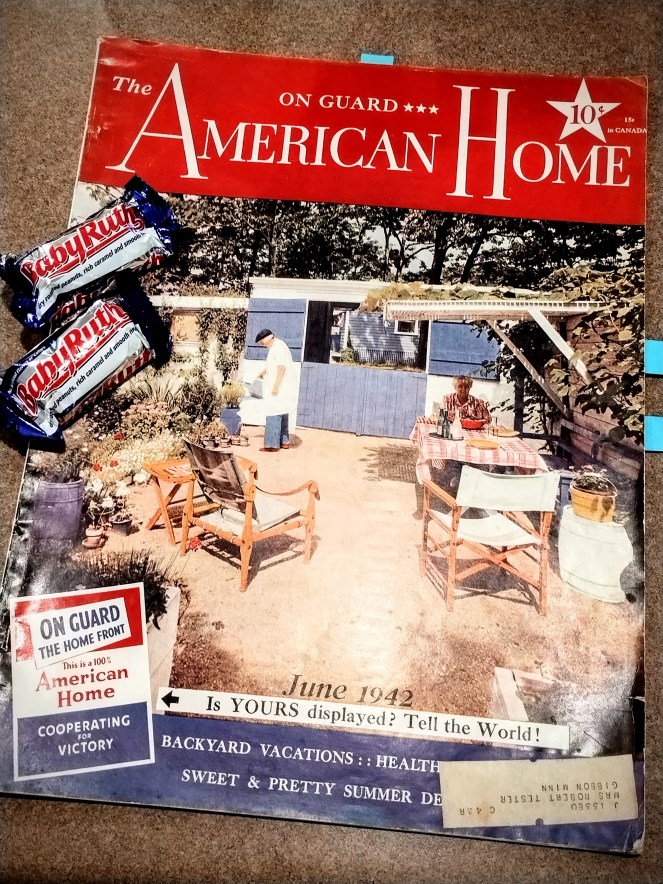
Flipping through the June 1942 issue of The American Home is like walking into a World War Two time capsule. Featuring the “On Guard the Home Front: Cooperating for Victory” label, it offered suggestions for how to use rationed items frugally, how to save items that would otherwise go to waste, and how to save money on family vacations by camping and other home-made fun (see the PDF link at the end to explore the pages of this issue).
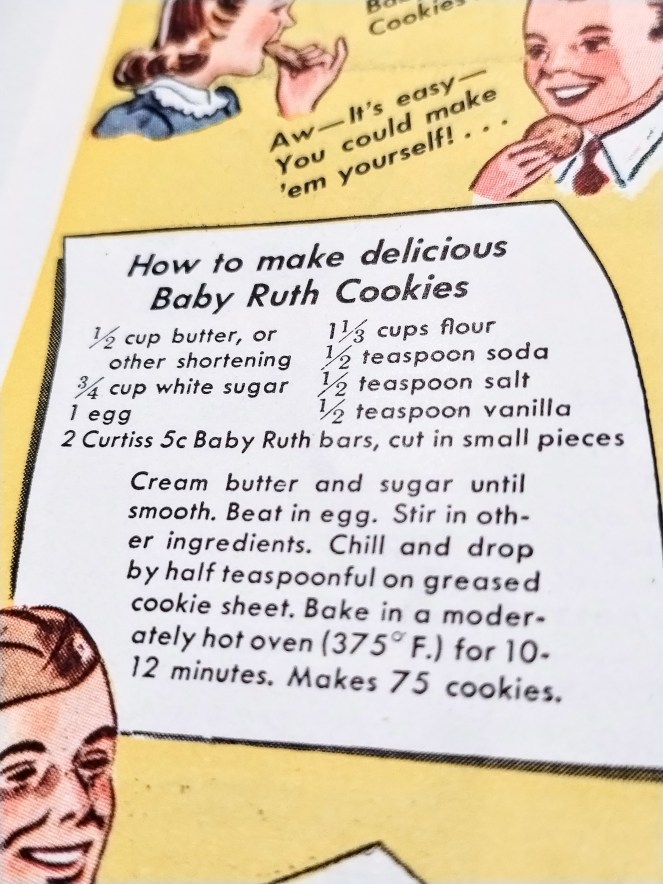
Sugar was rationed early on in America and chocolate was prioritized for use for military rations, so it was difficult to find. As a result, recipes like the one on page 26 of the June issue, featured a colorfully advertised Baby Ruth candy bar as the main ingredient in a cookie. Eating a Baby Ruth bar on its own wouldn’t take long. However, chop it into pieces and incorporate it into a cookie recipe (think chocolate chip cookies), and you have a treat that will go much further and be enjoyed by the maximum number of people.
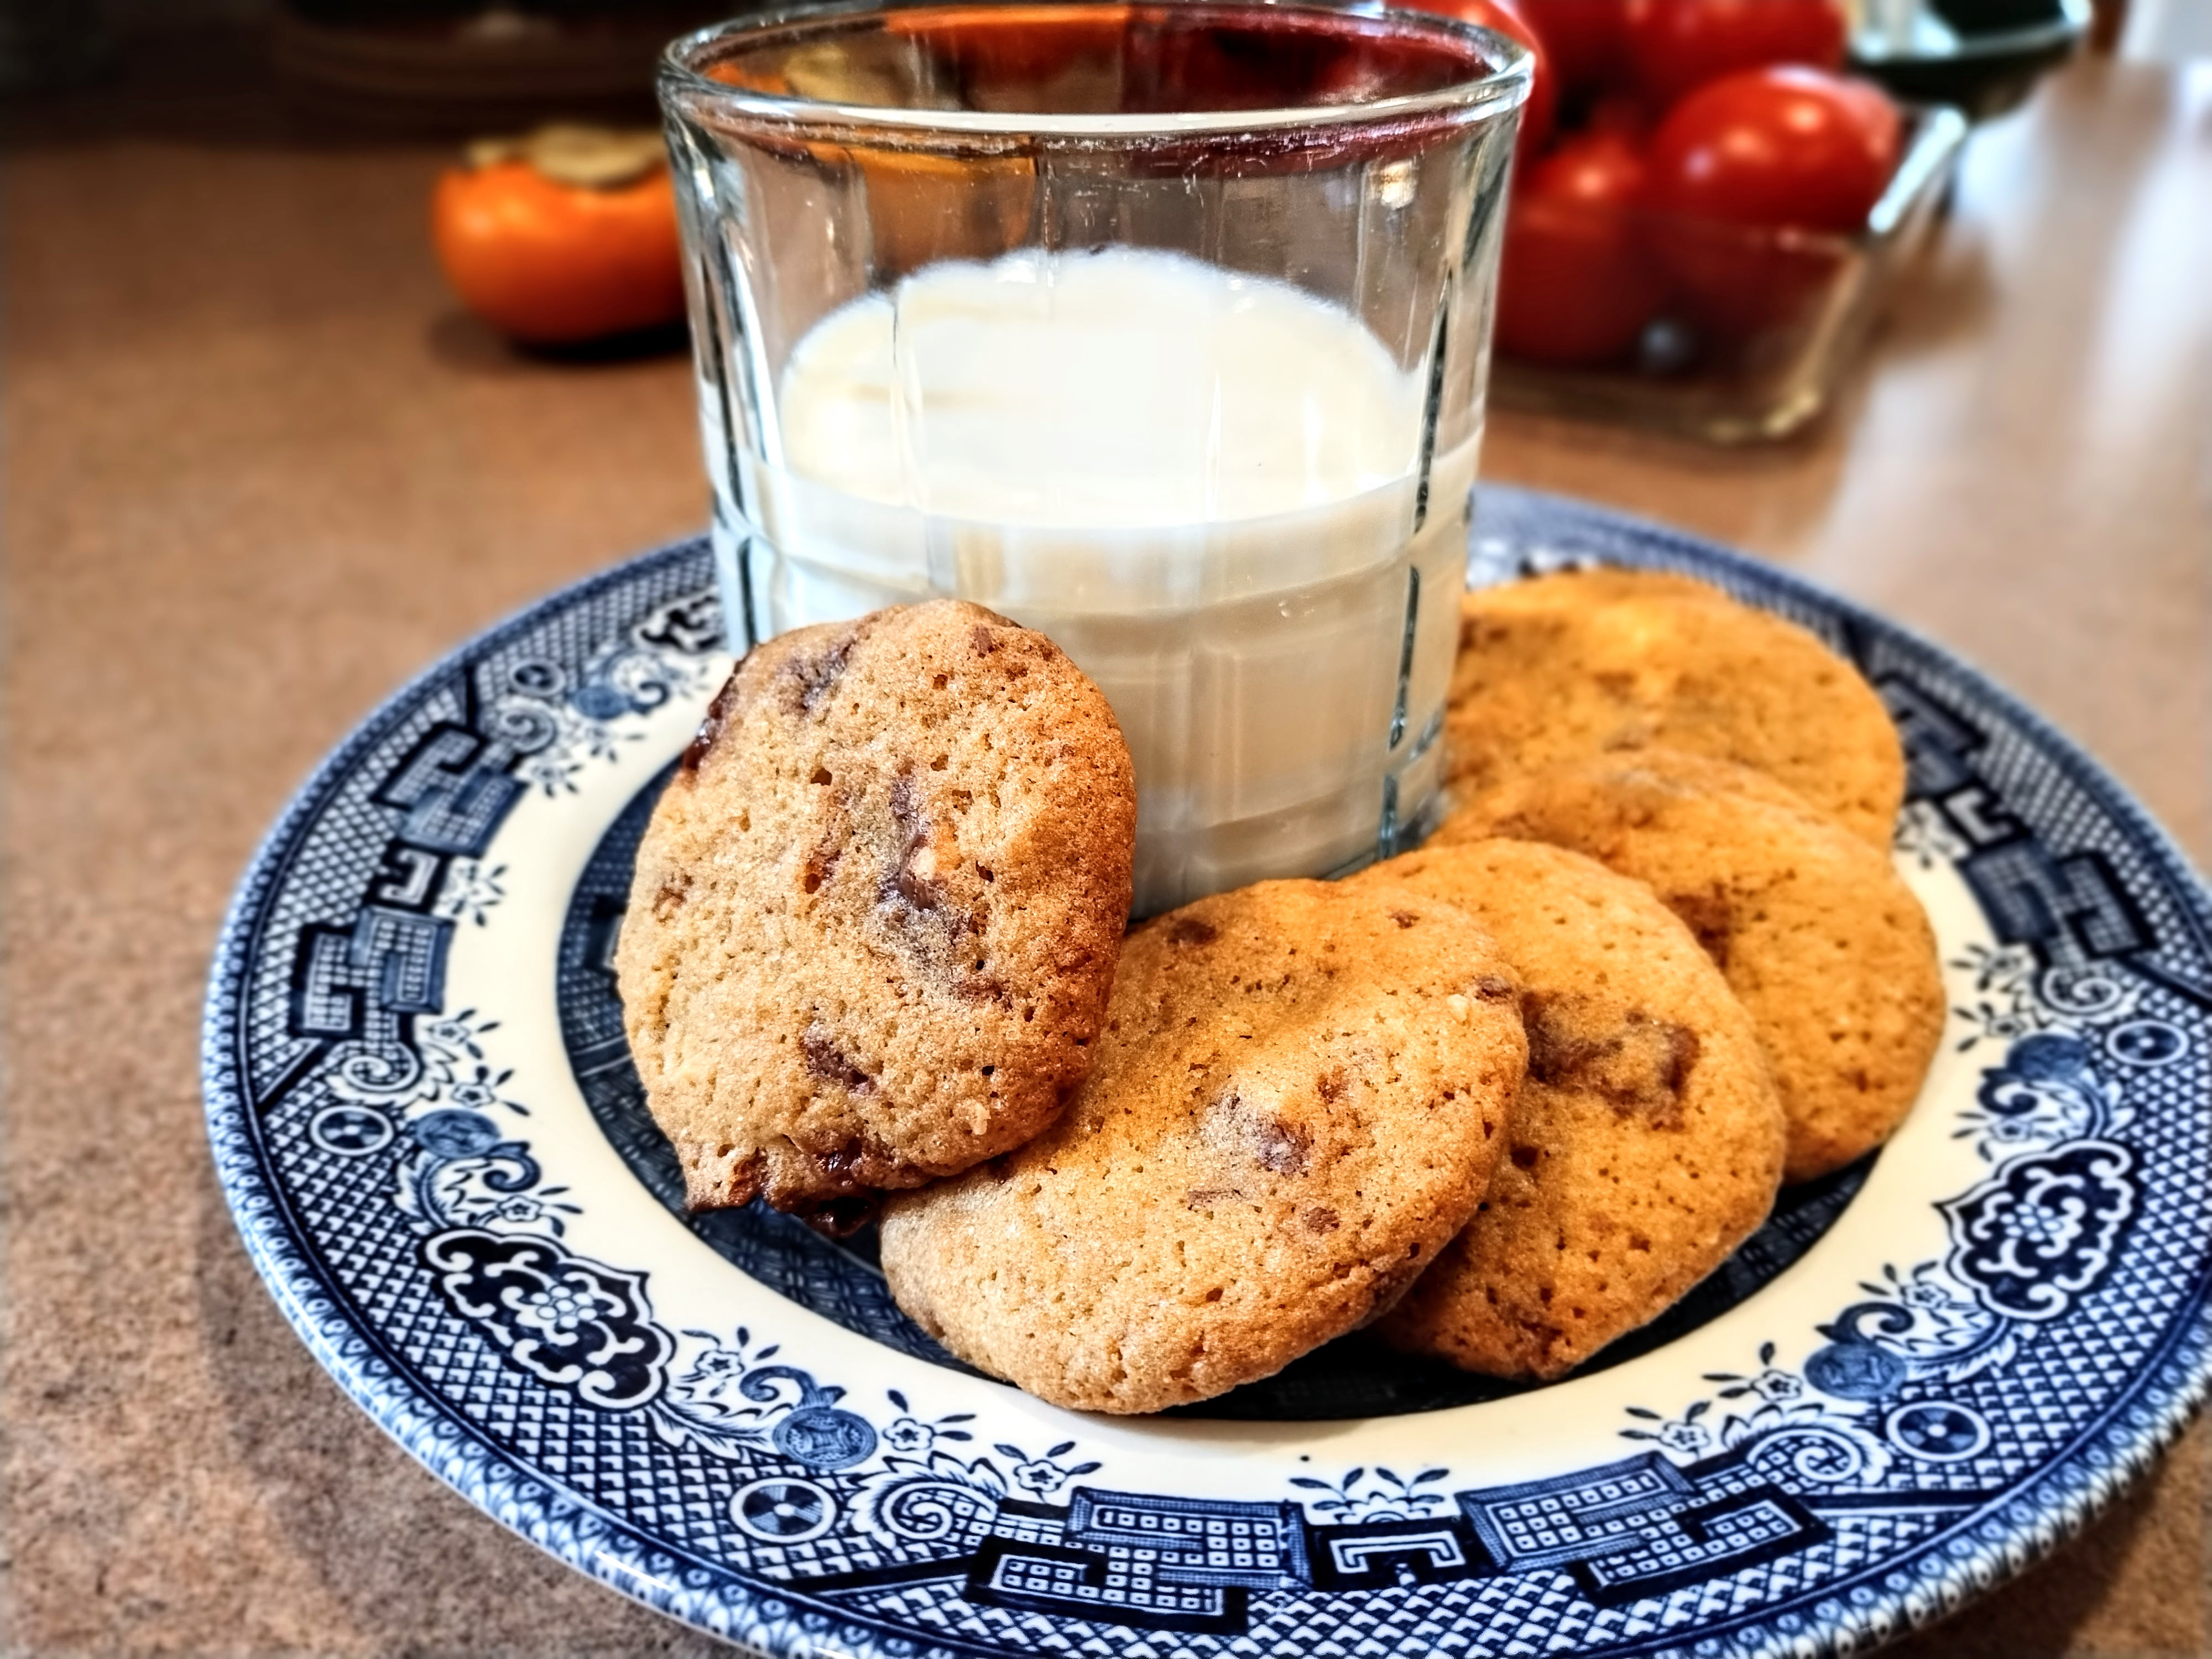
Otherwise, the recipe is a basic, tasty cookie that goes well with a tea or coffee break. Pair a couple of cookies with a cheese stick or beef stick if you want to avoid a woozy-doozy blood sugar spike. The cookie itself uses a bit less sugar than modern cookie recipes, and this you can adjust even more to reduce the sugar profile. Most of the sweetness comes from the Baby Ruth bar. You could experiment with other candy bar flavors in the same manner, a Snickers cookie, a Skor bar cookie (toffee and chocolate), etc. Some candy bars may work better than others, I’m thinking Three Musketeers would melt in a messy fashion.
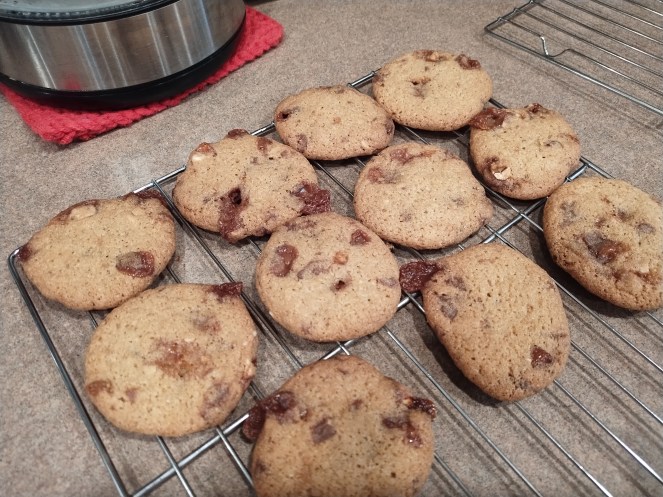
There is a small drawback to using a candy bar as your “chocolate chip” substitute since Baby Ruth features a milk chocolate exterior, peanuts, caramel, and a nougat filling. The caramel is the challenge; it really melts and will ooze in strange and wonderful ways as the cookies bake. It’s relatively easy to fix, just smoosh the goo back into the cookie while the cookie is still warm. Possibly the 1942 version of the Baby Ruth bar was made from a different recipe and didn’t have this problem (I’m not brave enough to see if a 1942 bar has survived that I can try), but nonetheless, in our modern-day version you have to mind your caramel.
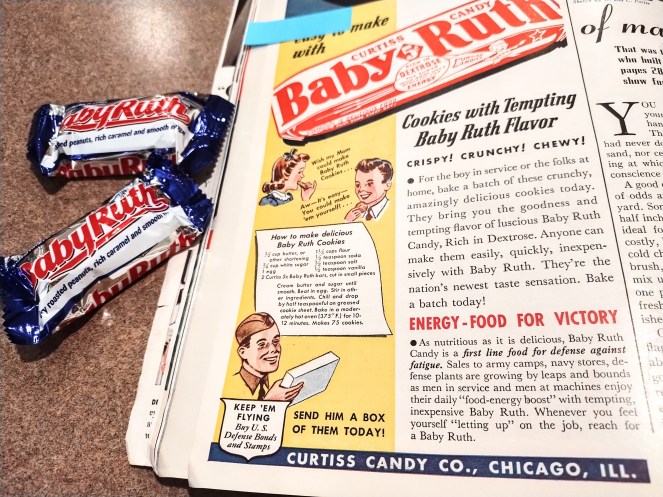
Dubiously, the Baby Ruth bar from the magazine is featured thus: “As nutritious as it is delicious, Baby Ruth Candy is a first line food for defense against fatigue.” Hmm, if you’re a hungry soldier fresh from basic training then I can buy that (and they were back during 1942), but for our sedentary world today, probably going easy on the candy bars is a better bet.
I won’t keep you in too much suspense, here’s the recipe. I’ve adapted it to my taste, but you can follow the original in the images above.
Baby Ruth Cookies
Adapted by Amanda Stiver from the June 1942 issue of The American Home magazine.
Ingredients
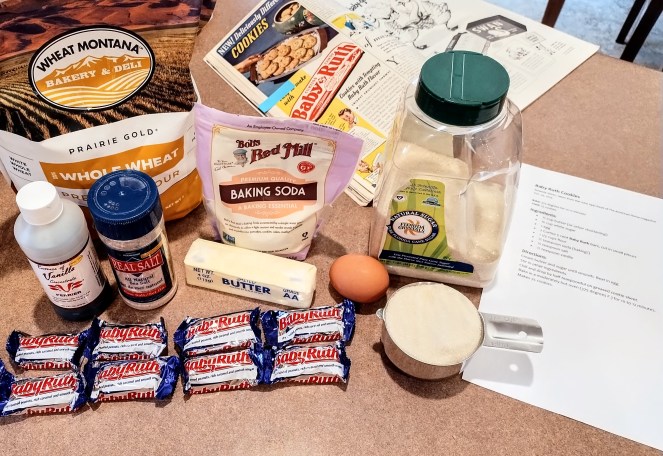
- 1/2 cup butter
- 3/4 cup granulated sugar
- 2 small eggs
- 8 mini-Baby Ruth bars, cut in small pieces
- 1 1/3 cups flour (I used Wheat Montana: Prairie Gold)
- 1/2 teaspoon baking soda
- 1/2 teaspoon salt
- 1/2 teaspoon vanilla
Directions
- Cream butter and sugar until smooth. Beat in eggs.
- Stir in other ingredients (chopped Baby Ruth bars, flour, baking soda, salt and vanilla).
- Chill for easy handling. Gently form half teaspoonful balls, roll them slightly, and place on a parchment paper covered cookie sheet. Avoid over-handling or the dough can become tough. The cookies spread out, space them well apart.
- Bake at 375 degrees F for 10 to 12 minutes. Let sit for one minute, if caramel has bubbled and spread, gently smoosh it back into the cookie. Place on cooling rock. Makes about 60 small cookies.
Sources:
- The American Home, June 1942 issue. AH-1942-06.pdf
- Archive of The American Home magazine: USModernist Archives